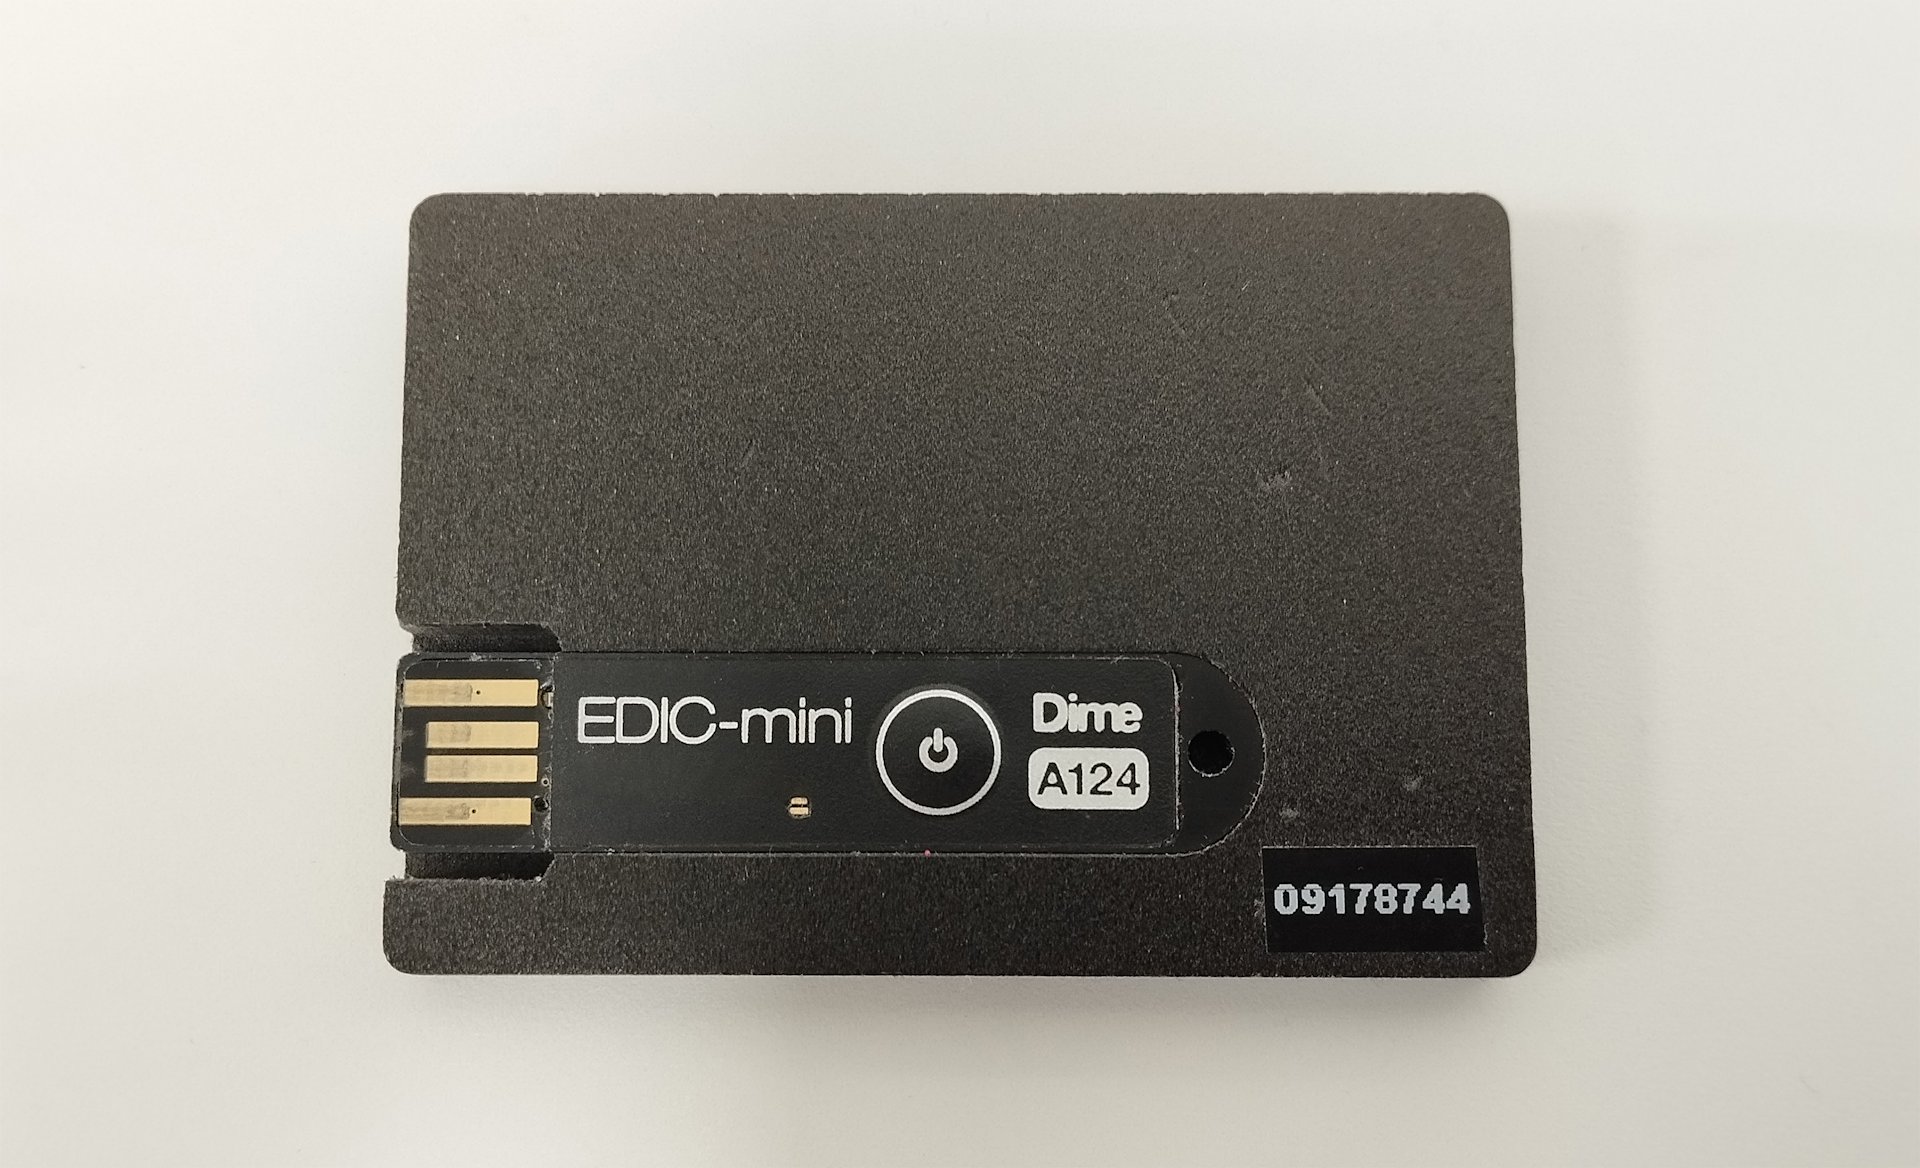
We have developed a mobile application for Android and iOS to record conversations and export them from the audio badge to a smartphone via USB, and then from the smartphone to a file server. The physical audio badge is a voice recorder housed in the casing of an ID badge, worn on a worker's jacket. The badge is charged via direct current when connected to USB. The files on the voice recorder are accessed through the same USB interface and function like a regular flash drive. To connect the recorder to a smartphone, you need a cable adapter that supports data transfer; otherwise, the phone will not recognize the external storage device. Unfortunately, some manufacturers claim their adapters support data transfer, even though they do not. We had to try several cables for Android before finding one that worked. When we first encountered this problem, it baffled us, as we couldn't tell whether the recorder was faulty or if the issue was with the smartphone, since it didn't recognize the device. The iOS cable adapter worked immediately.
In practice, it's a good idea to consider individual characteristics: some people are better at aural perception, while others perceive written text more effectively. That's why we plan to enable the audio badge software to automatically convert speech to text. During playback of the recording, a transcription of the dialogue will appear in the same window, divided into utterances by different speakers.
The application was created for two mobile platforms. Android applications are typically written in Java or Kotlin, while iOS applications are written in Swift. To save on resources, we chose MAUI from Microsoft, a cross-platform framework for developing mobile and desktop applications. MAUI is the new version of the well-known Xamarin, which is no longer supported.
A bit of theory
An audio file from the server is sent to the speech recognition module, where it undergoes pre-processing: filtration, noise reduction, and sound normalization to improve clarity and eliminate background noise, which could confuse algorithms later in the process. The audio file is then divided into small segments, which are analysed separately. Modern systems rely on recurrent neural networks (RNNs) and their extensions, such as ‘long short-term memory’ (LSTM). A large database of samples teaches the system to recognize accents, intonations, and stylistic peculiarities of speech.
Neural networks are trained using the process known as ‘backward propagation of errors’. After predicting a potential text representation of the audio signal, the delta between the predicted text and the actual one is calculated. The error is then sent back through the network, and the neuron weights are adjusted to reduce future errors. This process is repeated until the model reaches an acceptable level of accuracy.
The model receives audio segments, compares them to phonemes (phonetic units), and transforms them into words and phrases. While forming the textual representation, another algorithm predicts the most likely next word in a phrase, significantly improving recognition accuracy.
The model can also be fine-tuned to incorporate specific terms relevant to a particular context or field of knowledge, making the language more natural.
Android
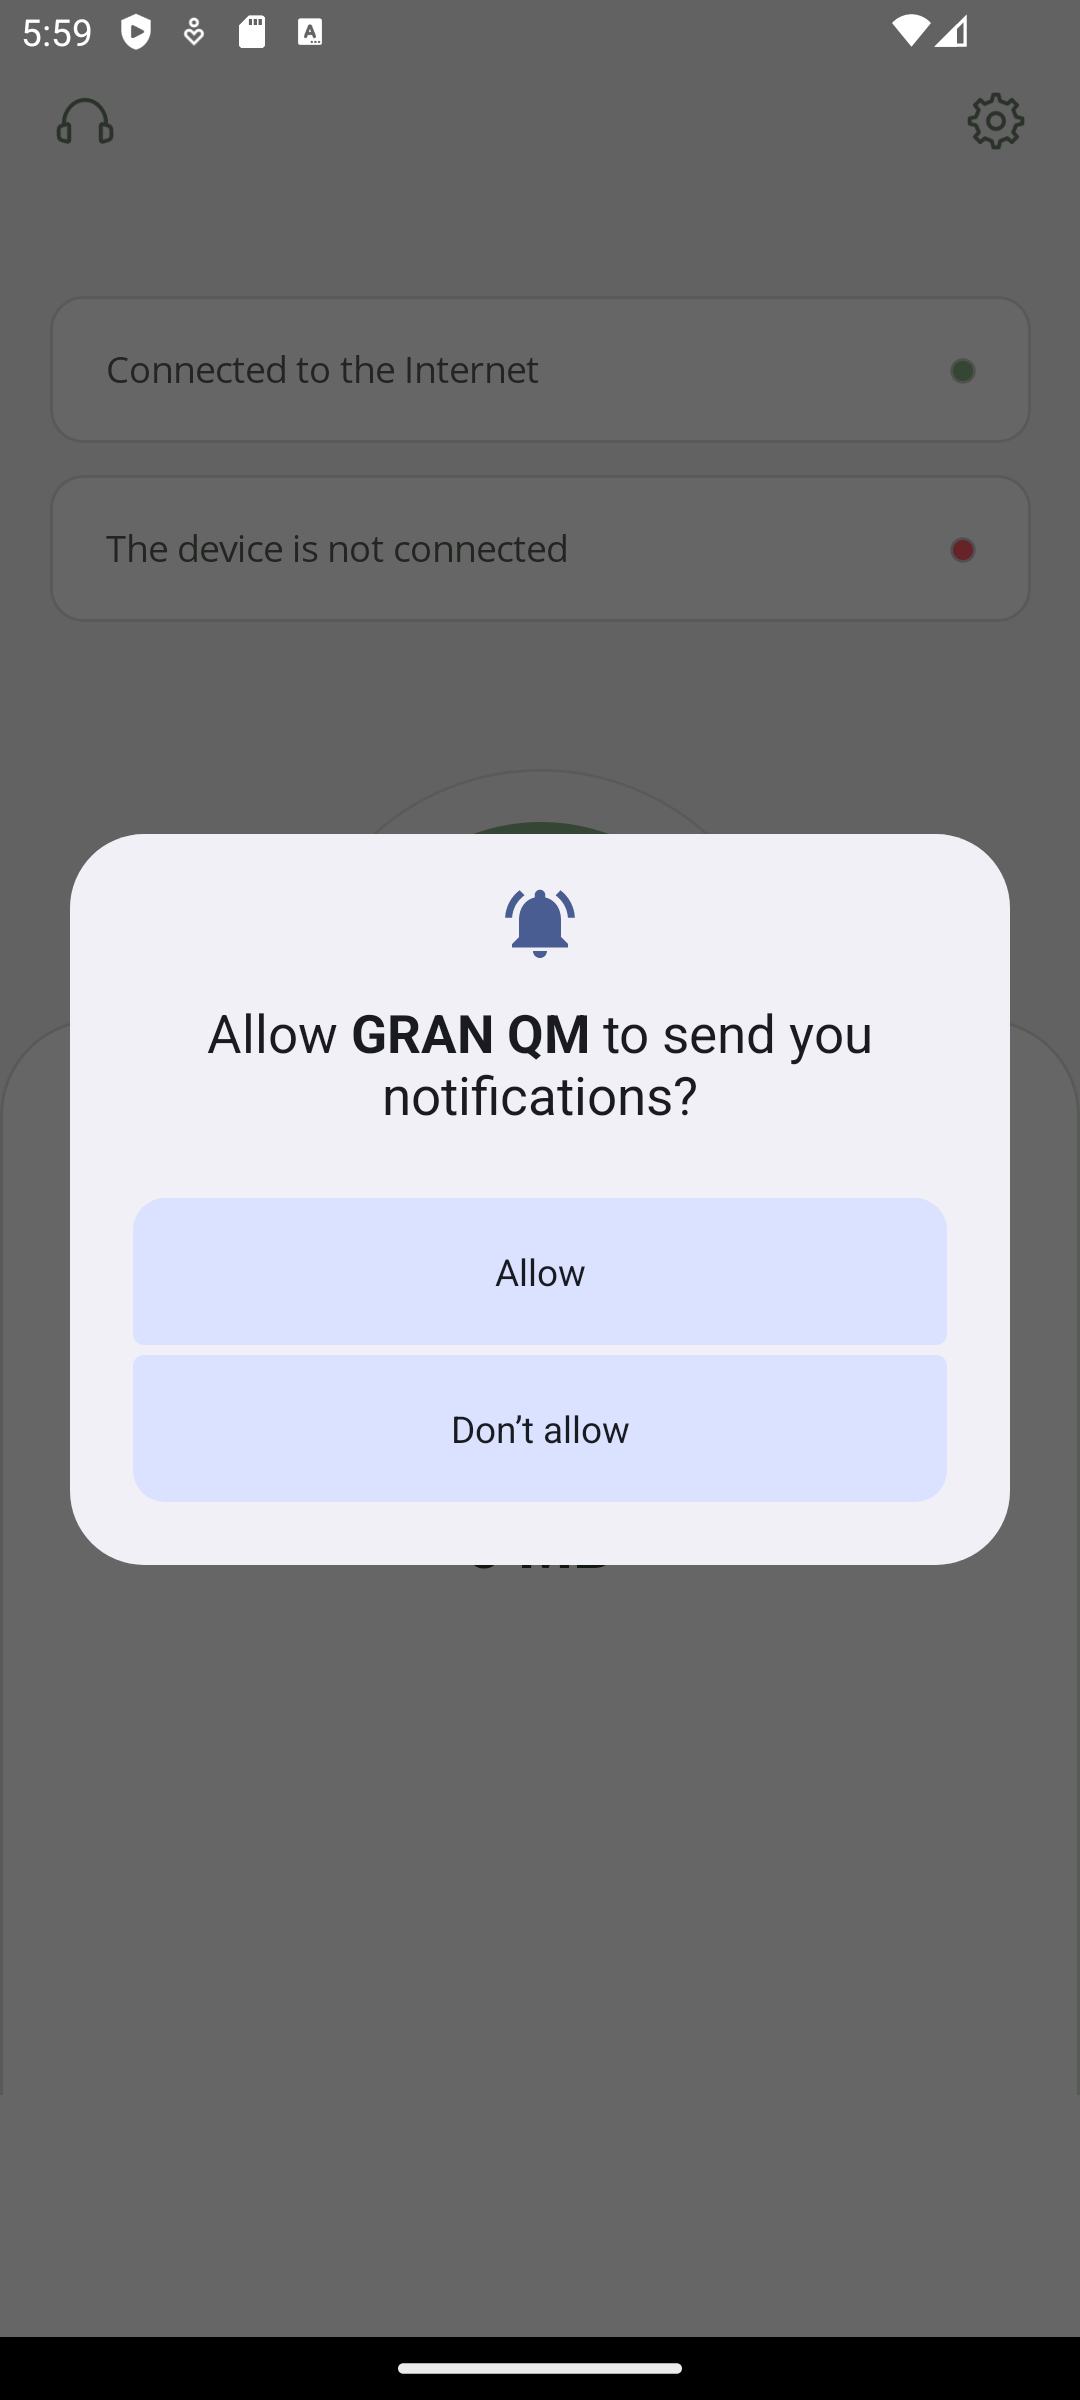
In Multi-platform App UI, you can write both general code and platform-specific code using directives like #if android and #if ios. It is also possible to specify the system versions used on the device through these directives. The development was conducted iteratively: first for Android, then for iOS, which led to certain challenges later, as is often the case with cross-platform development. But let's go step by step: first, we had to gain access to the files on the voice recorder. Android has increased its security again, and now the Gran QM application must request access to any folder outside the file sandbox. This means that the code will definitely be platform-specific. On Android, we open the file manager, where we can select the folder to which the root of the audio badge flash drive will be mounted.
Intent intent = new Intent("android.intent.action.OPEN_DOCUMENT_TREE");
Microsoft.Maui.ApplicationModel.Platform.CurrentActivity.StartActivityForResult(intent, 1);
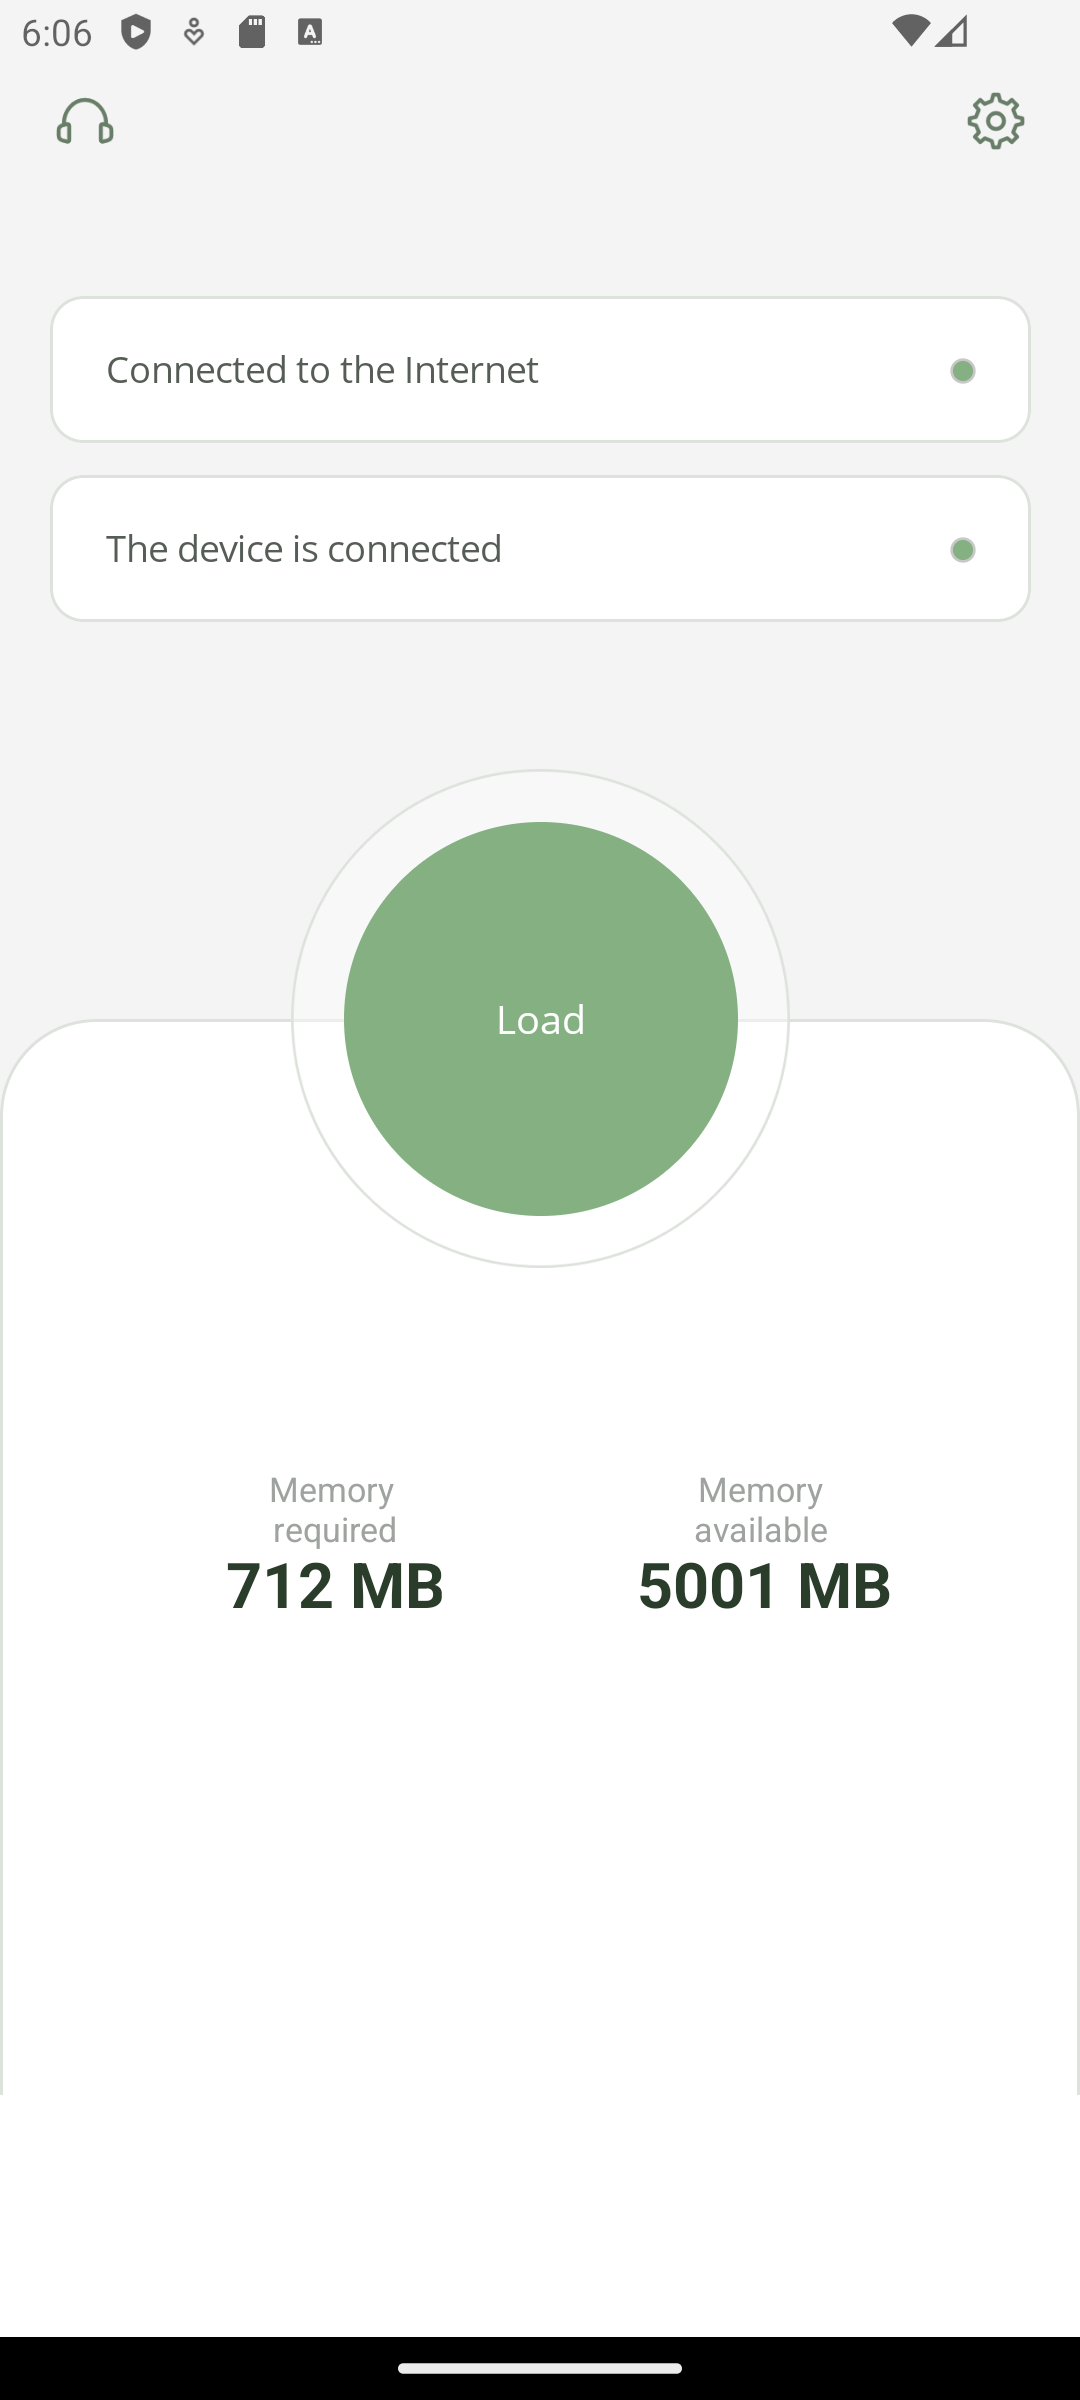
We needed to choose a condition that would trigger the root mount. Clicking a button was not suitable. First, when the application starts, you can see the connected USB devices through UsbManager – no additional permissions are required. Here, you can also filter the devices by manufacturer to prevent false triggers when a regular flash drive is connected. Secondly, we made the window activate when a device is connected, so there's no need to manually code connection monitoring cycles. The BroadcastReceiver class can react to the creation of an Intent. That's why we created a class that inherits from BroadcastReceiver and used it to filter USB device connection and disconnection events. After that, by pressing the large button, the captured audio is copied into the application's internal memory, also known as the ‘sandbox’.
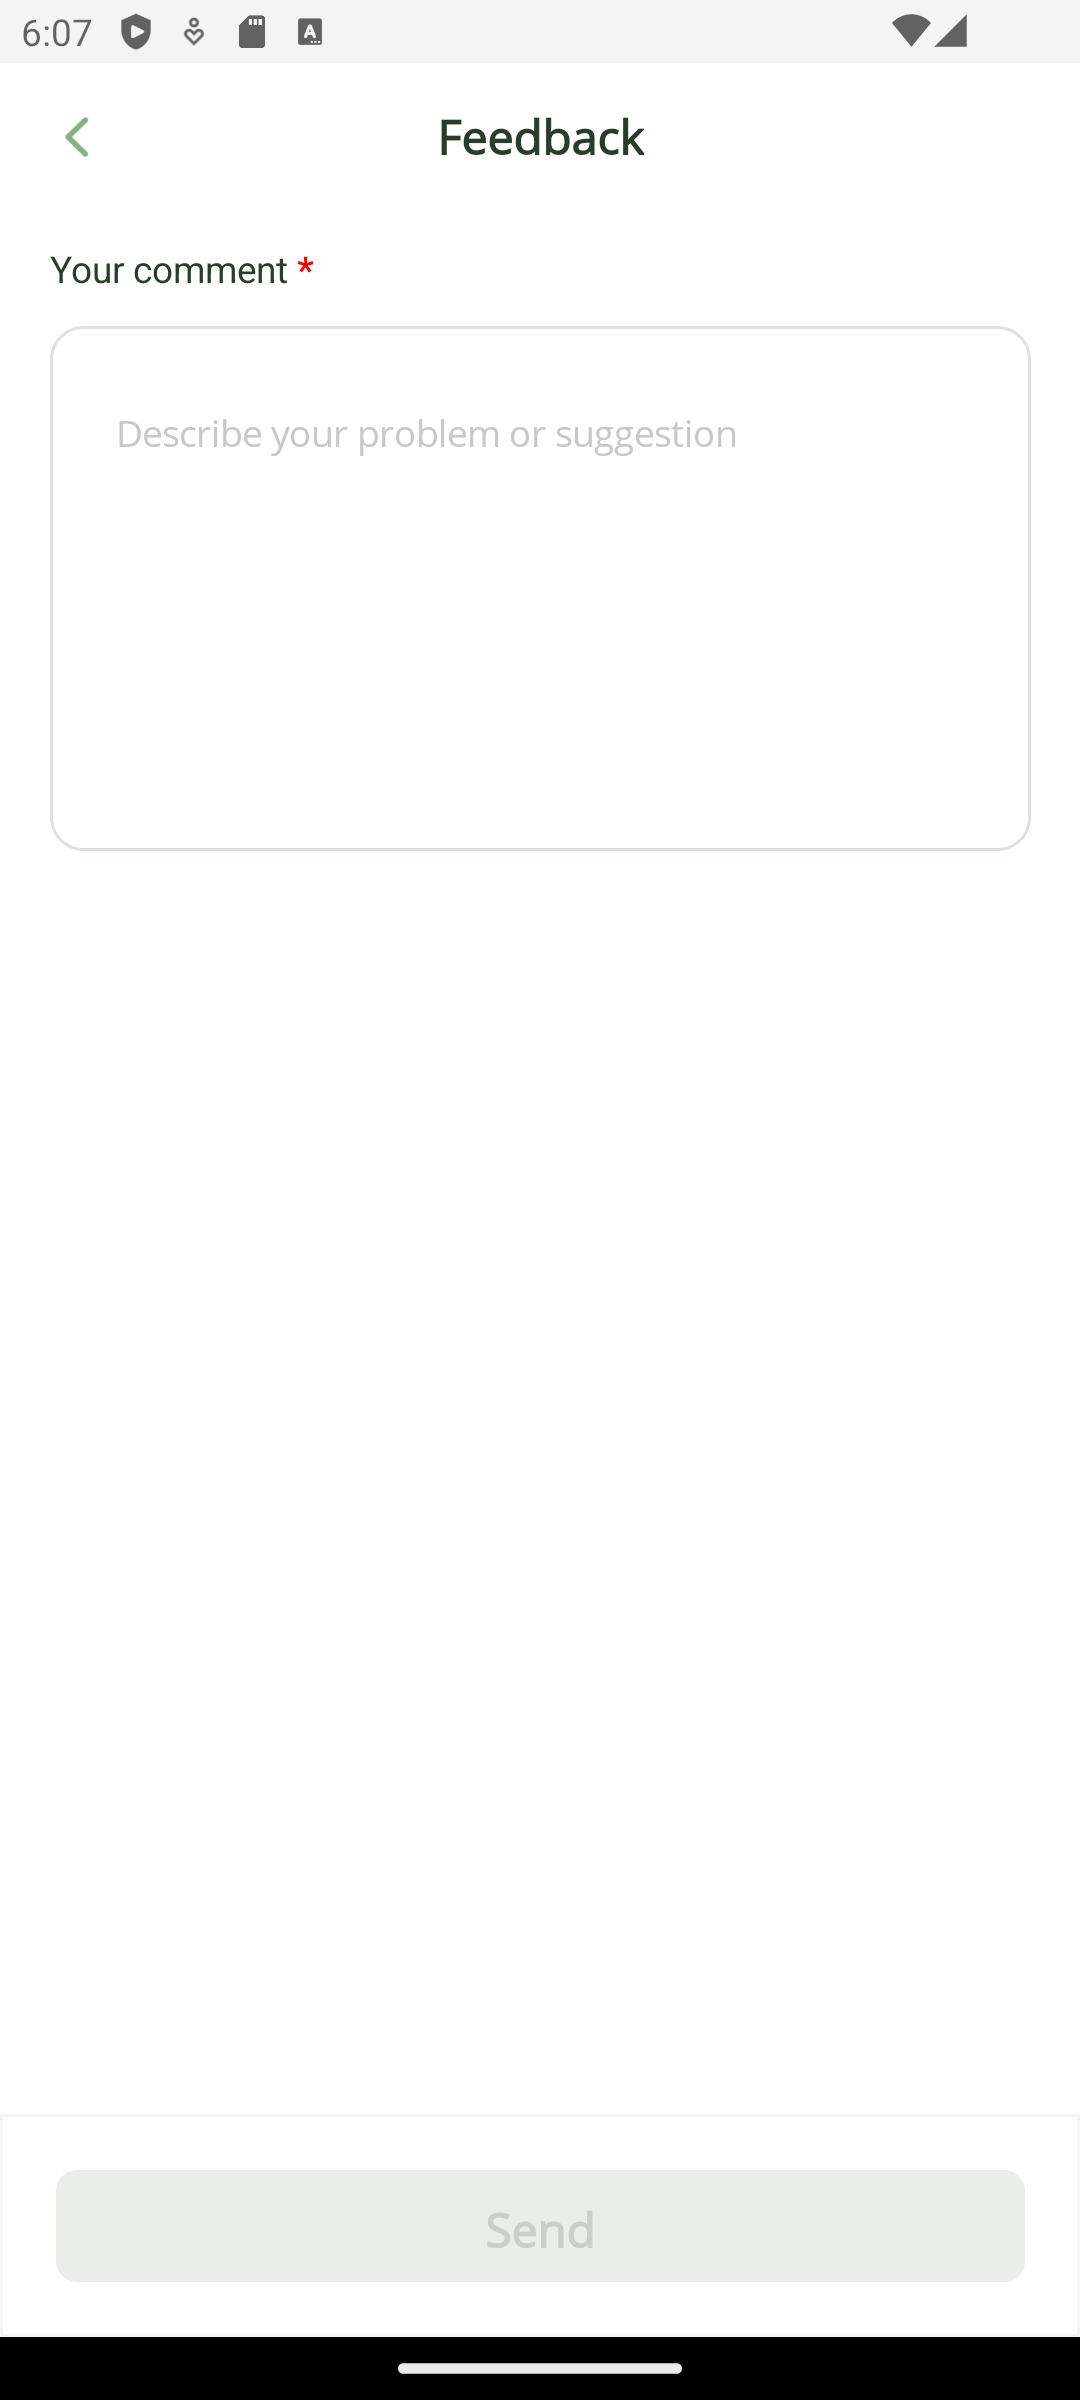
Next, we focused on its design. We kept it simple and flat, as preferred. It took a bit of work to create the large button in the middle of the screen because there was nothing like it in the standard graphical element library. And just to jump ahead, PNG images didn't display under iOS. So, we immediately added SVG support to the project, even though Android can handle both formats.


 2002–2026